Category: Desk Setup

  • Wireless Charging Pads for Your Desk: Worth It or Not?

    Wireless Charging Pads for Your Desk: Worth It or Not?

    This post contains affiliate links. If you buy through these links, we may earn a commission at no extra cost to you.

    Wireless charging pads promise to declutter a desk by removing charging cables, but whether they’re actually worth it depends on how you use your phone during the day. Here’s how to decide.

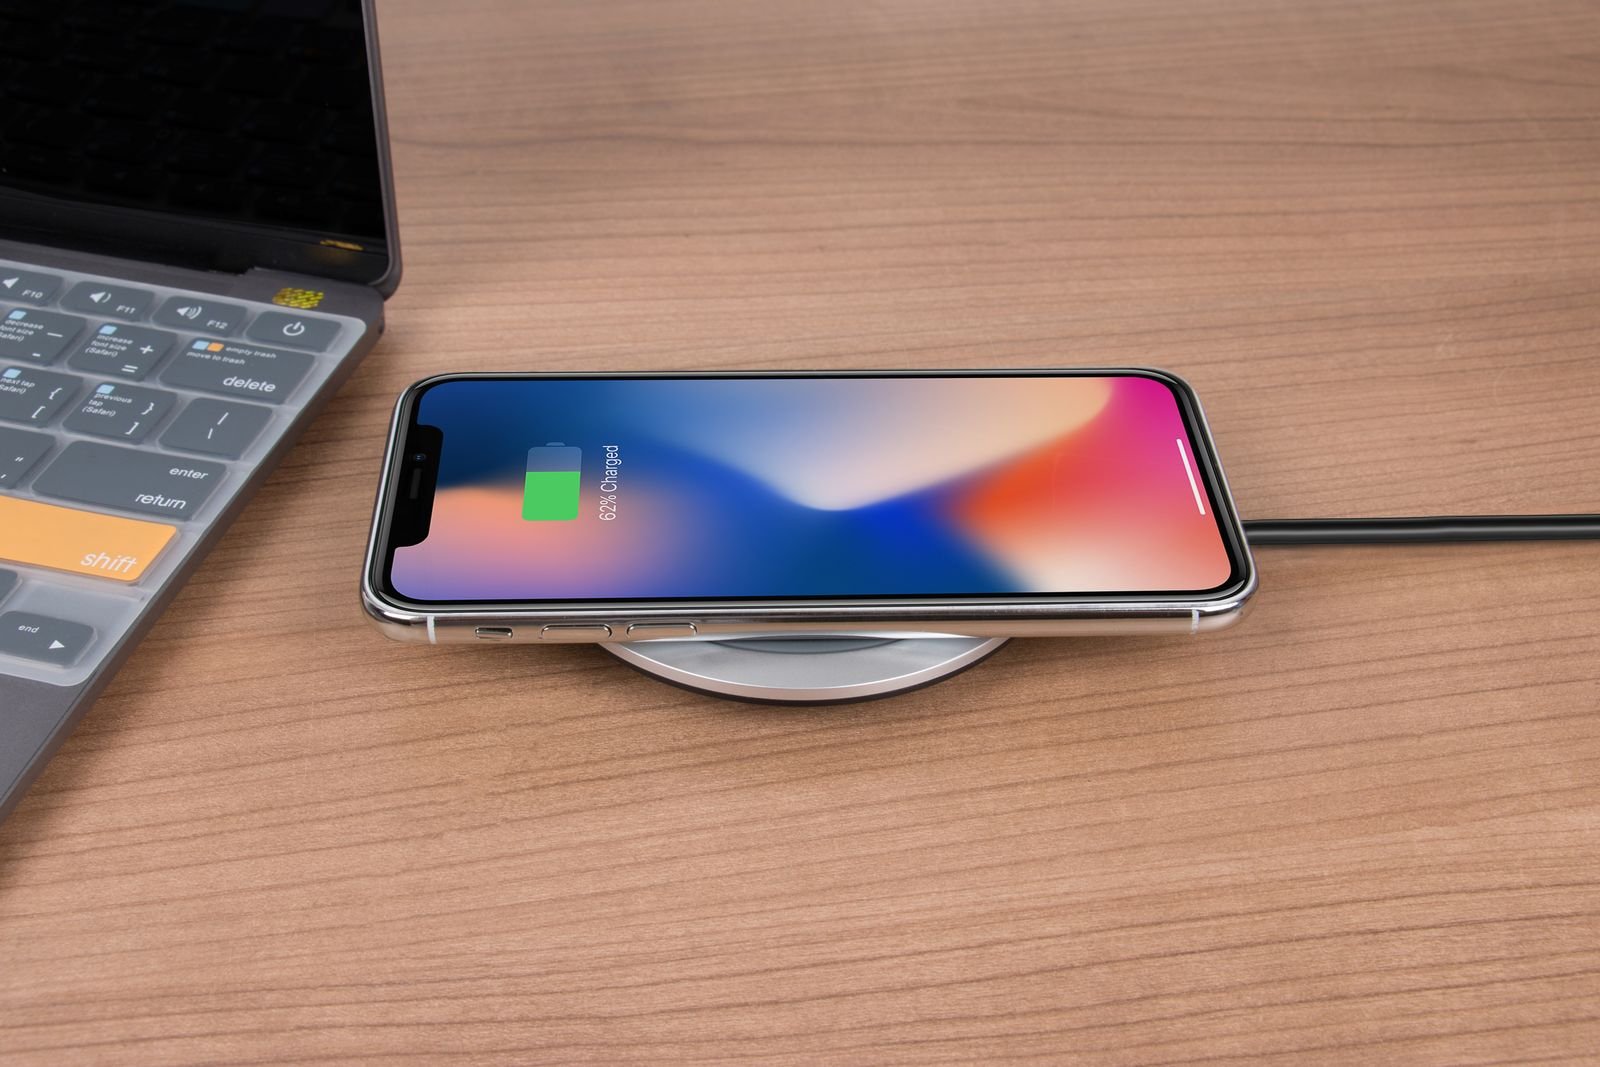
    Wireless charging pad on a desk

    Our pick: foldable fast-charging wireless charging stand. (affiliate link)

    Charging speed is usually the first disappointment

    Wireless charging is inherently slower and generates more heat than a wired connection, and cheaper pads are often capped well below what your phone can actually accept over a cable. If fast charging matters to you, check the pad’s wattage rating against your phone’s supported wireless charging speed, not just its top marketing number.

    Case compatibility trips people up

    Thick cases, cases with magnetic wallets, or cases containing metal can block or weaken a wireless charge significantly. If your phone charges slowly or inconsistently on a pad, the case is the first thing to check before assuming the pad is faulty.

    Where it actually helps: reducing cable clutter for occasional top-ups

    The real benefit of a desk charging pad isn’t fast charging — it’s the convenience of just setting your phone down without fumbling for a cable, which removes one more cable running across your desk. For someone who checks their phone frequently and wants a quick top-up, this convenience is real even if the charging itself is slower.

    Wireless charging stand dimensions

    Multi-device pads solve a specific problem

    If you also own wireless earbuds or a smartwatch with wireless charging, a multi-device pad that charges two or three things at once consolidates what would otherwise be several separate cables and bricks into one spot on your desk — a genuine desk-clutter win, not just a phone-charging one.

    When a cable is still the better choice

    If you actively use your phone while it charges — for calls, video, or reference material during work — a cable lets you pick the phone up and keep charging in a way a pad doesn’t. For heavy, active daytime use, a cable is often more practical despite being less “clean” looking.

    Phone fast charging wirelessly

    Bottom line

    A wireless pad is worth it if your priority is desk tidiness and occasional top-ups, especially in a multi-device version. If you need fast charging or use your phone actively while it charges, stick with a cable.
  • USB Hub vs Docking Station: Which Do You Need for Your Setup

    USB Hub vs Docking Station: Which Do You Need for Your Setup

    This post contains affiliate links. If you buy through these links, we may earn a commission at no extra cost to you.

    USB hubs and docking stations solve overlapping problems, and it’s easy to buy the wrong one for what you actually need. Here’s the real difference and how to tell which one fits your setup.

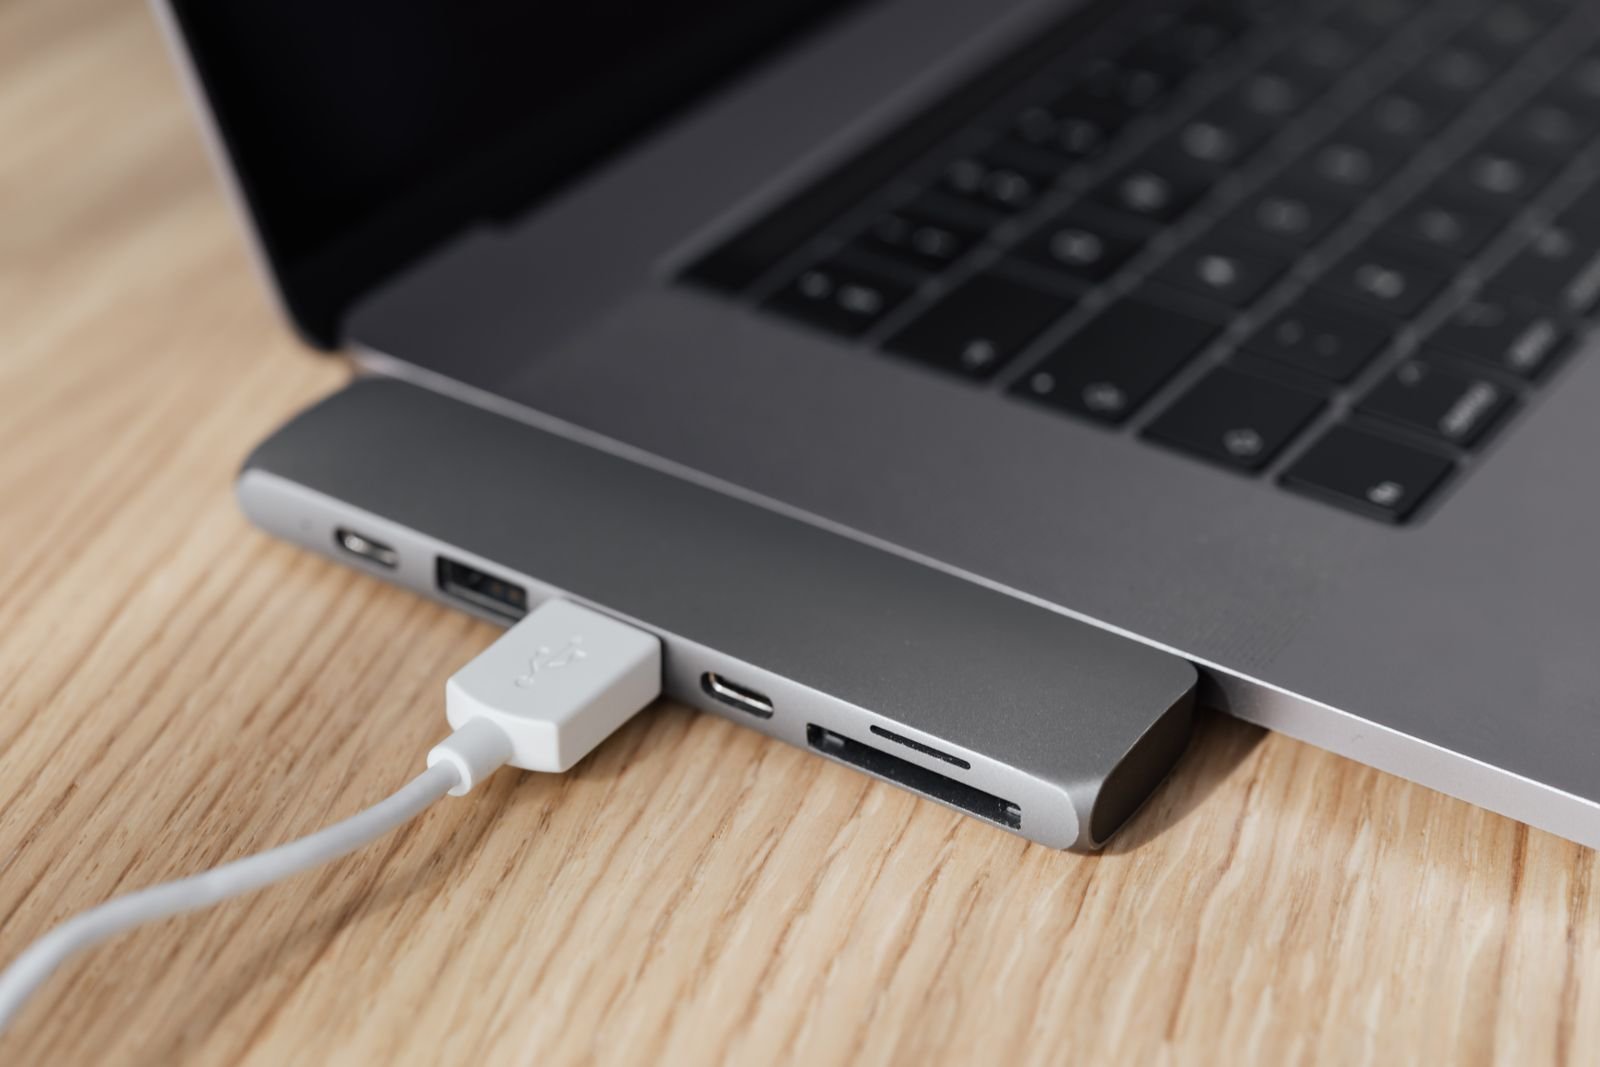
    USB C hub and docking station

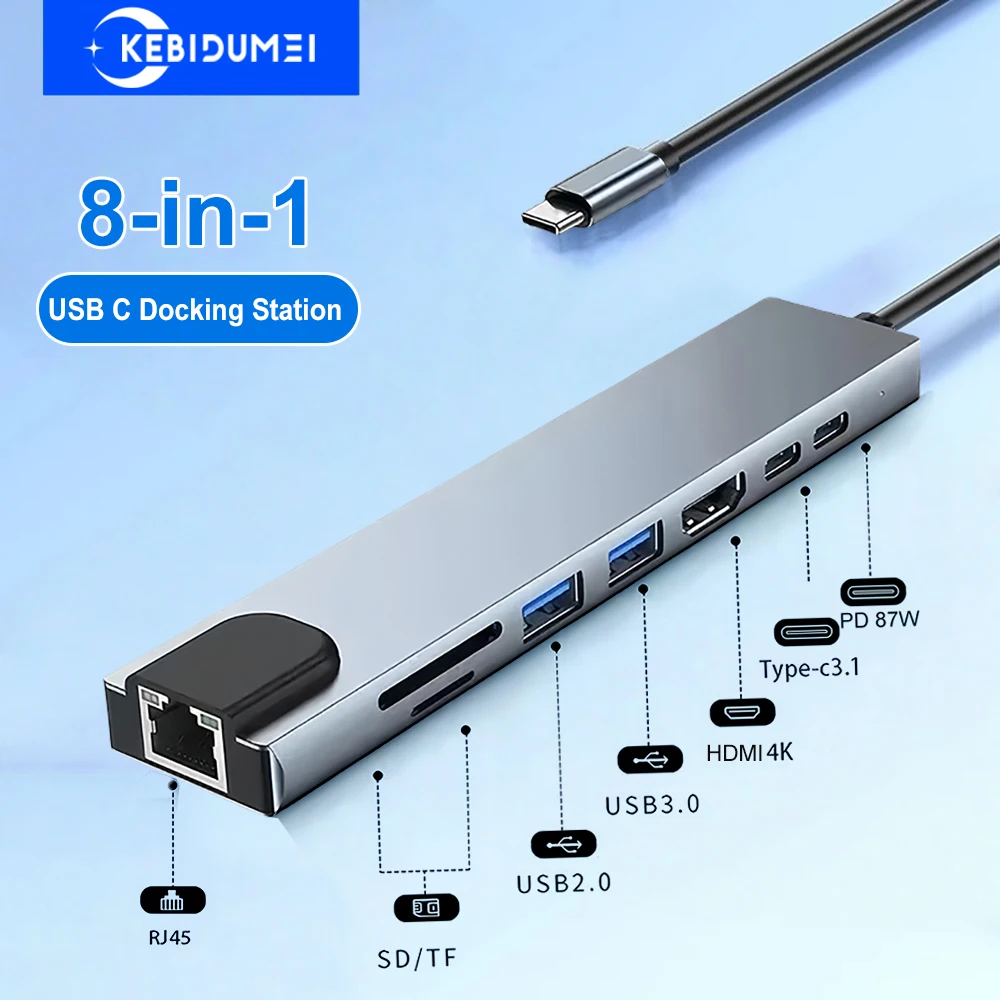
    Our pick: 8-in-1 USB-C hub/docking station with 4K HDMI and PD. (affiliate link)

    What a USB hub actually does

    A USB hub is essentially a port multiplier — it takes one USB connection from your laptop and splits it into several USB ports, sometimes with an SD card reader or a couple of other basics added in. It’s cheap, small, and solves the simple problem of “I need more USB ports than my laptop has.”

    What a docking station adds on top

    A docking station does everything a hub does, plus video output (often multiple monitor support), higher-power charging for your laptop through the same cable, and sometimes wired ethernet. The tradeoff is a higher price and, on some models, drivers or software to get full functionality working.

    If you only need more ports, a hub is enough

    If your actual problem is “I plugged in a mouse and now I’m out of USB ports,” a simple hub solves it for a fraction of a docking station’s price. Buying a full dock for this alone is spending money on capability you won’t use.

    USB C hub power delivery to laptop

    If you connect and disconnect a laptop daily, a dock pays for itself

    The real value of a docking station shows up if you move a laptop between a desk setup and elsewhere regularly — instead of plugging in a monitor cable, power cable, and multiple peripherals separately every time, one dock cable handles all of it in a single connection. If you do this daily, the time saved adds up fast.

    Check your laptop’s actual port and power specs

    Not every laptop can be charged through the same USB-C port used for video and data, and not every dock delivers enough wattage for larger laptops. Check your laptop’s charging requirements and the dock’s rated power delivery before buying, especially for larger 15-16″ laptops that often need 90W or more.

    USB hub driving external 4K display

    Bottom line

    Buy a hub if you just need more ports occasionally; buy a dock if you connect and disconnect a laptop from a full desk setup regularly and want it down to one cable. Match the purchase to how often you actually dock, not to the longest feature list.

  • How to Pick a Desk Mat That Doesn’t Slide Around

    How to Pick a Desk Mat That Doesn’t Slide Around

    This post contains affiliate links. If you buy through these links, we may earn a commission at no extra cost to you.

    A desk mat that slides every time you move your mouse or lean on it is more annoying than not having one at all. The difference between a mat that stays put and one that doesn’t usually comes down to a few specific factors most people don’t check before buying.

    Large non-slip desk mat

    Our pick: large wool felt desk mat with non-slip backing. (affiliate link)

    Backing material is the actual answer

    The single biggest factor in whether a mat slides is its backing, not its size or top surface. Rubber backing grips a desk surface far better than a smooth fabric or thin foam backing. Look specifically for “non-slip rubber base” or similar wording in the listing rather than assuming any backing will do the job.

    Desk surface matters as much as the mat

    The same mat behaves differently on different desks — a rubber-backed mat grips well on laminate or wood but can still slide on glass or very smooth painted surfaces. If you have a glass desk, look specifically for mats reviewed for glass compatibility, since standard rubber backing sometimes isn’t enough there.

    Size and weight work together

    A larger mat has more surface area in contact with the desk, which generally makes it more stable even with the same backing — a full-desk mat tends to stay put better than a small mouse-pad-sized one. Thicker mats also add a bit of weight that helps resist sliding compared to very thin sheet-style mats.

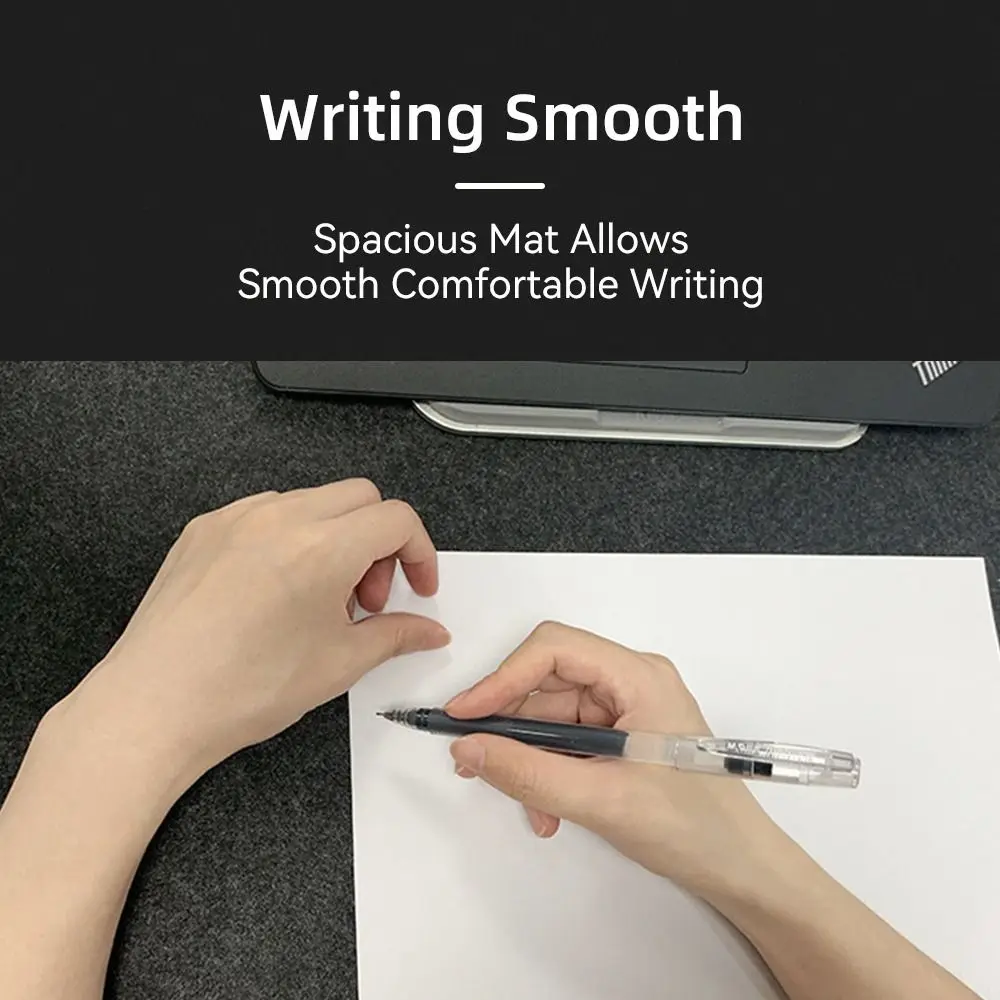
    Writing smoothly on a large desk mat

    Edge stitching prevents a different problem

    Fraying edges on fabric-surfaced mats aren’t a sliding issue, but they’re a common complaint after a few months of daily use. Stitched or reinforced edges hold up considerably longer than raw-cut edges, especially on mats you’ll be resting your wrists against regularly.

    Cleaning is a real factor, not an afterthought

    Mats absorb spills, dust, and skin oils over time, and how a mat responds to cleaning affects how long it stays usable. Wipeable synthetic-leather-style surfaces are easier to maintain long-term than woven fabric tops, which tend to hold stains and are harder to fully dry.

    Desk mat scratch resistance test

    Bottom line

    Check the backing material before anything else — a rubber non-slip base solves the sliding problem more reliably than size, weight, or brand. Everything past that is mostly about surface feel and how easy the mat is to keep clean.

  • Wrist Pain at Your Desk? Here’s What Actually Helps

    Wrist Pain at Your Desk? Here’s What Actually Helps

    Wrist pain from desk work is usually a setup problem before it’s an equipment problem, but the right gear does help once the underlying position is fixed. Here’s what actually makes a difference, in the order that matters most.

    Ergonomic desk setup with wrist support

    Check your wrist angle first, before buying anything

    Wrist pain often comes from typing with wrists bent upward because the keyboard sits too high, or bent to the side because the mouse is positioned awkwardly. Before buying a wrist rest or a new mouse, check whether your keyboard and mouse height lets your wrists stay roughly straight and level with your forearms — that alone fixes a surprising amount of discomfort.

    Wrist rests help positioning, not just padding

    A wrist rest’s job isn’t to cushion constant pressure — resting your wrists on it while actively typing can actually make things worse. Its real job is to keep your wrist in a neutral, straight position during pauses between typing. Look for a rest with enough height to match your keyboard’s front edge so your wrist doesn’t tilt up or down when you do rest it.

    Vertical mice change the angle entirely

    A standard mouse keeps your forearm rotated palm-down for hours, which for some people is a major source of wrist and forearm strain. A vertical mouse keeps your hand in more of a handshake position, reducing that rotation. It takes a week or two of adjustment, but people who switch rarely go back.

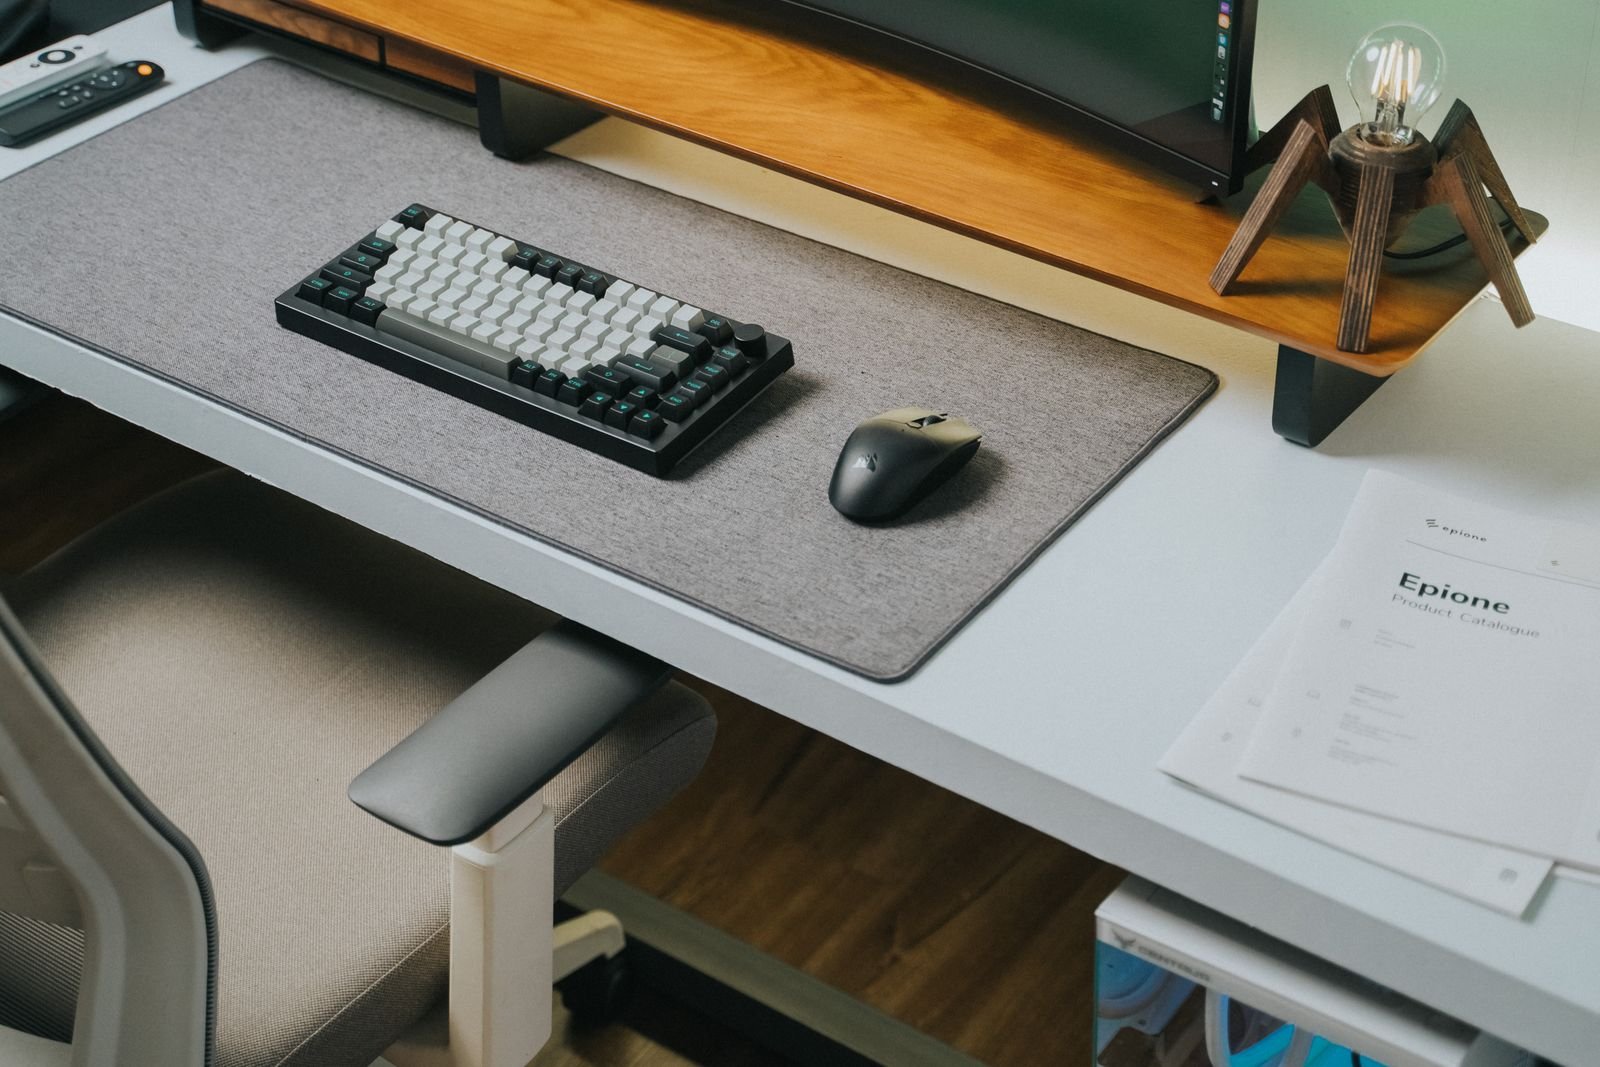
    Ergonomic keyboard and mouse setup on a desk mat

    Split and tented keyboards reduce ulnar deviation

    Standard keyboards force your wrists to angle inward slightly to reach the center keys, a position that adds up over a full workday. Split keyboards let each half angle outward to match your natural shoulder width, and tented models raise the inner edges to reduce forearm rotation as well. These have a learning curve but are worth it for anyone typing heavily every day.

    Take breaks even with good equipment

    No wrist rest or ergonomic mouse fully offsets hours of continuous repetitive motion. Short breaks every 30-45 minutes to change position and stretch your wrists matter as much as any single piece of gear.

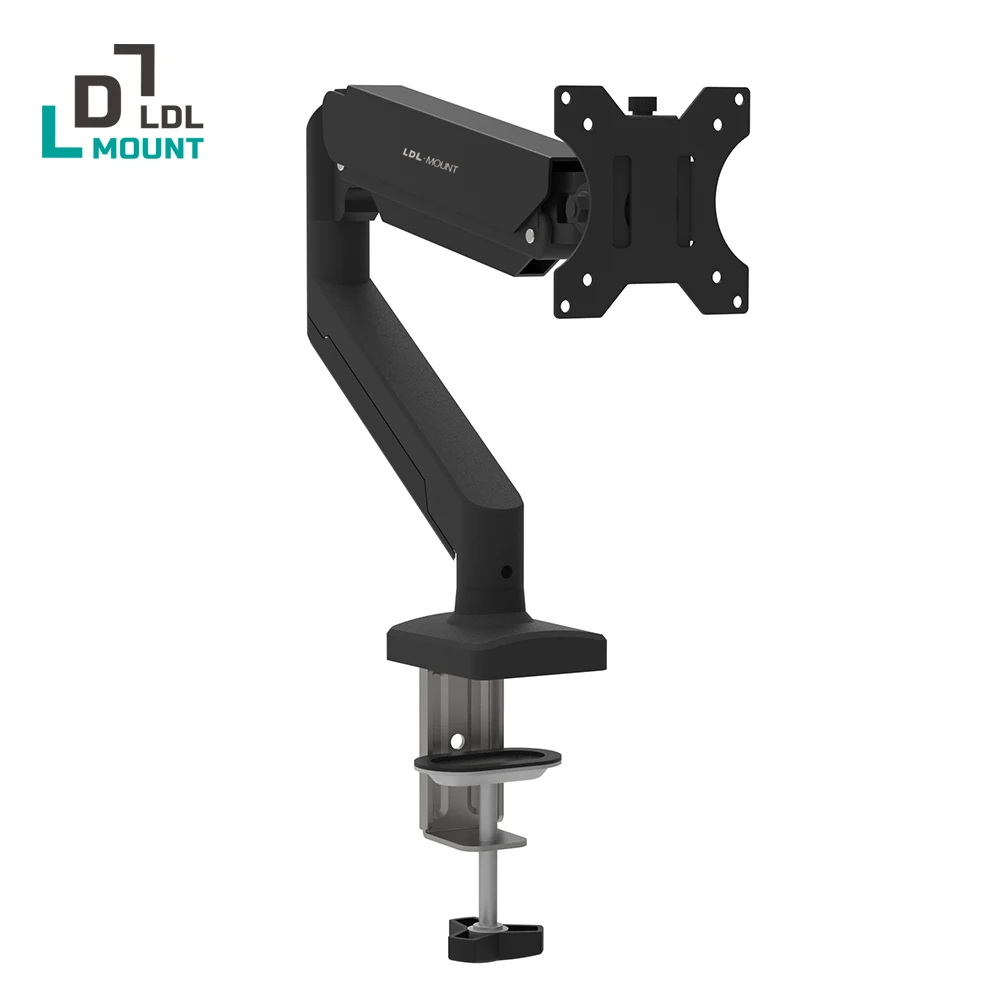
    Monitor arm supporting proper viewing height

    Bottom line

    Fix your keyboard and mouse height and angle first — it’s free and fixes more than people expect. Once positioning is right, a properly sized wrist rest and, if you type heavily, a vertical or split ergonomic setup are the upgrades worth spending on.

  • How to Set Up a Standing Desk Converter Without Breaking Your Budget

    How to Set Up a Standing Desk Converter Without Breaking Your Budget

    This post contains affiliate links. If you buy through these links, we may earn a commission at no extra cost to you.

    A full electric standing desk can run several hundred dollars, but a desk converter — a platform that sits on top of your existing desk and raises your monitor and keyboard — gets you most of the benefit for a fraction of the cost. Here’s how to set one up without wasting money on the wrong choice.

    Standing desk converter with dual monitor workstation

    Our pick: 32-inch dual-tier standing desk converter with gas spring lift. (affiliate link)

    Decide between a single-tier and dual-tier converter

    Single-tier converters raise your monitor and keyboard on the same flat surface, which is cheaper and simpler but forces an awkward typing angle when standing, since the keyboard ends up too high relative to your elbows. Dual-tier converters have a separate lower shelf for the keyboard, keeping your elbow angle closer to 90 degrees regardless of height — worth the extra cost if you’ll actually type for extended periods while standing.

    Check your desk’s depth before buying

    Converters need enough desk depth behind them to sit stable, and enough depth in front for the keyboard tray to extend without hitting you. Measure your desk’s usable depth before ordering — a converter that’s too deep for your desk becomes a constant annoyance.

    Weight capacity adds up faster than expected

    A converter’s rated weight capacity needs to cover your monitor (or monitors), keyboard, mouse, and anything else that sits on the raised platform — not just the monitor alone. Add up your actual gear weight before assuming a budget converter’s rated capacity is enough headroom.

    Standing desk converter with monitors and laptop

    Gas spring vs crank vs electric lift

    Gas spring converters lift and lower with one motion and a release lever, which is fast but can feel abrupt until you get used to it. Crank converters are cheaper and more stable at any height but slower to adjust. Electric converters cost the most but adjust at the push of a button and are the easiest to use multiple times a day — which matters, since a converter that’s annoying to adjust tends to just get left in one position.

    Give yourself a transition plan

    Standing all day immediately is uncomfortable for almost everyone and is a common reason people abandon a converter within the first month. Start with short standing intervals — 20-30 minutes at a time — and increase gradually rather than trying to stand for hours right away.

    Standing desk converter dimensions

    Bottom line

    A dual-tier converter with a weight capacity comfortably above your actual gear, sized to your desk’s real depth, will get more actual daily use than a cheaper single-tier model that’s technically less expensive but awkward to type on.