Tag: cable-management

  • How to Build a Cord-Free Desk Setup (Step by Step)

    How to Build a Cord-Free Desk Setup (Step by Step)

    This post contains affiliate links. If you buy through these links, we may earn a commission at no extra cost to you.

    A truly cord-free desk is mostly an illusion — power has to come from somewhere — but you can get close enough that nothing visible looks tangled or accidental. Here’s the order that actually works.

    Start with the cables you can eliminate entirely

    Before routing anything, cut what you can. Switch your mouse and keyboard to wireless (most decent ones now last months on a charge), and if your monitor supports it, move audio to Bluetooth speakers or a wireless headset instead of a wired connection. Every cable you remove is one you never have to hide.

    Handle what’s left with routing, not hiding

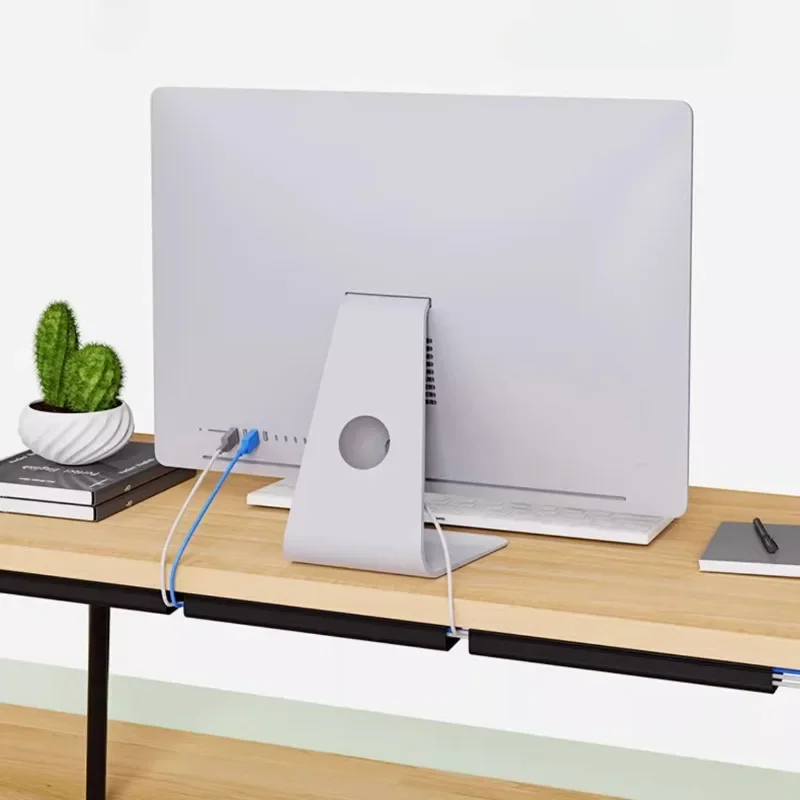
    You can’t eliminate power cables, so the goal shifts to routing them along a single, predictable path — usually down one desk leg — rather than letting them dangle across your field of view. A cable spine or clip system along the back edge of the desk keeps everything gathered before it drops.
    Where a wireless charger earns its keep

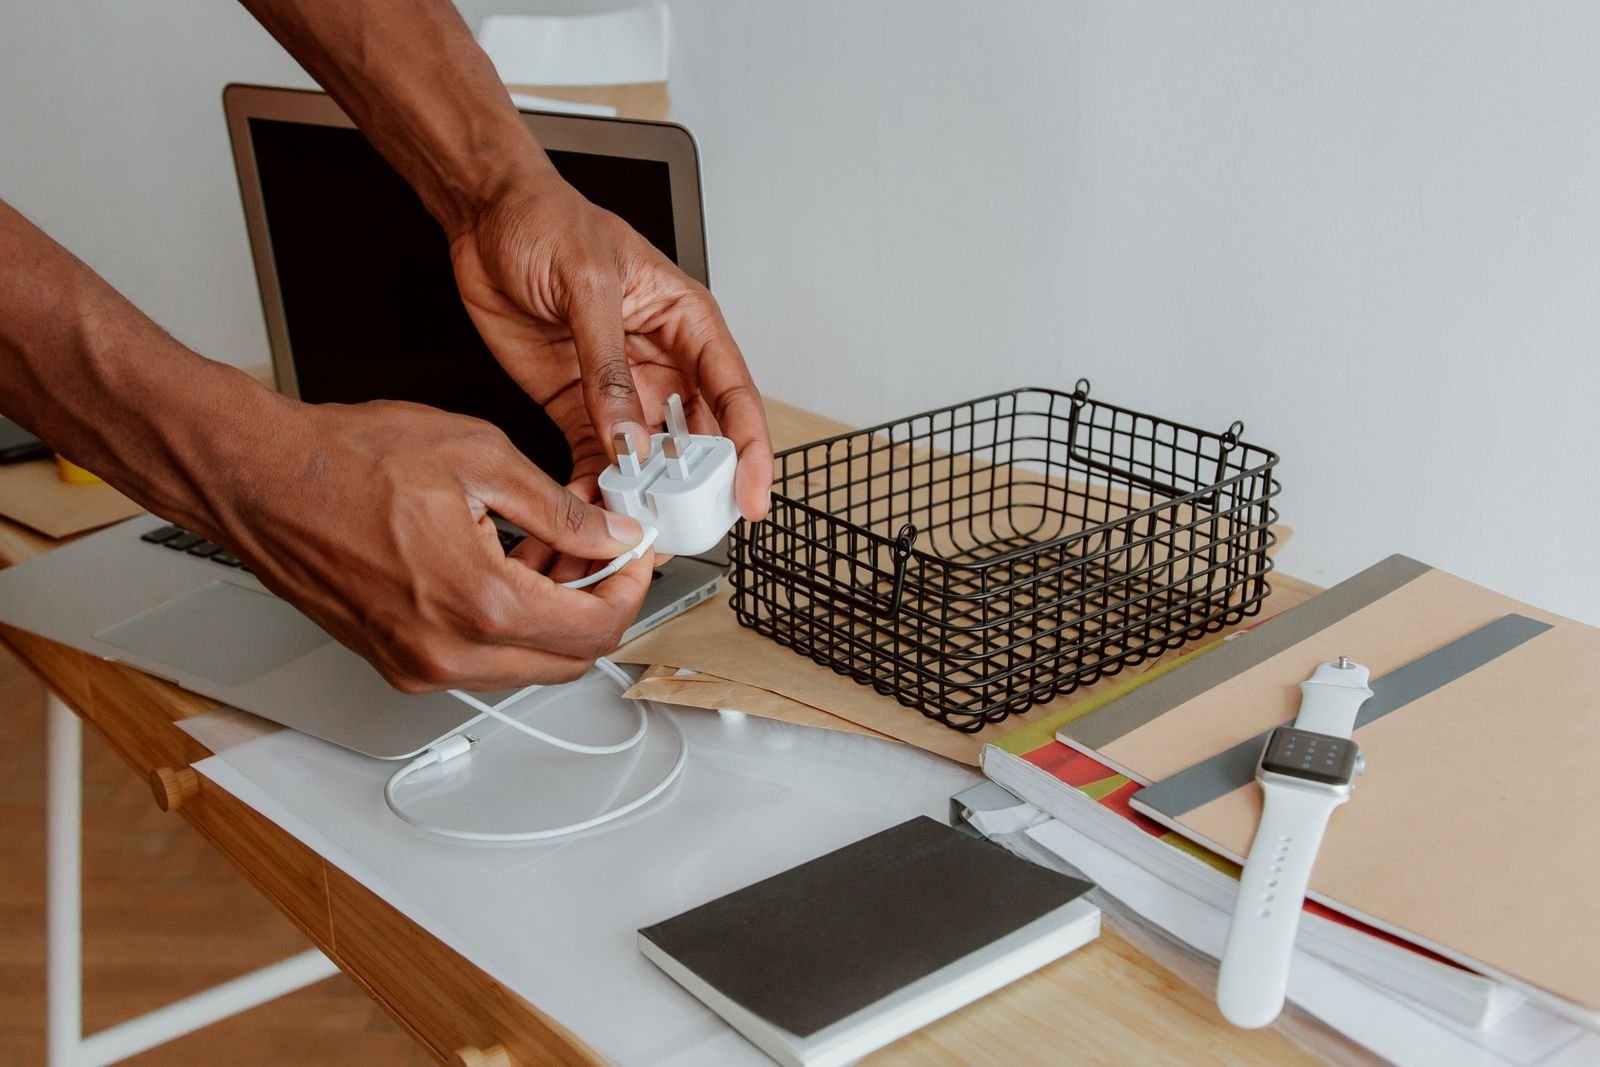
    Phone charging cables are an easy one to remove entirely. A foldable fast-charging wireless charging stand sits flat on the desk and removes one more cable from the pile without needing a dedicated spot for a cable to live. (affiliate link)

    The realistic finish line

    You’ll still have a monitor cable, a power brick, and probably a dock cable running somewhere. That’s fine — the goal isn’t zero cables, it’s zero cables you can see from your normal sitting position. Once the visible surface is clear, the setup reads as cord-free even though the cables are still doing their job out of sight.

  • 7 Cable Management Mistakes That Make Your Desk Look Messy

    7 Cable Management Mistakes That Make Your Desk Look Messy

    This post contains affiliate links. If you buy through these links, we may earn a commission at no extra cost to you.

    Most cluttered desks aren’t cluttered because of too many cables — they’re cluttered because of a handful of avoidable habits. Here are the most common ones and what to do instead.

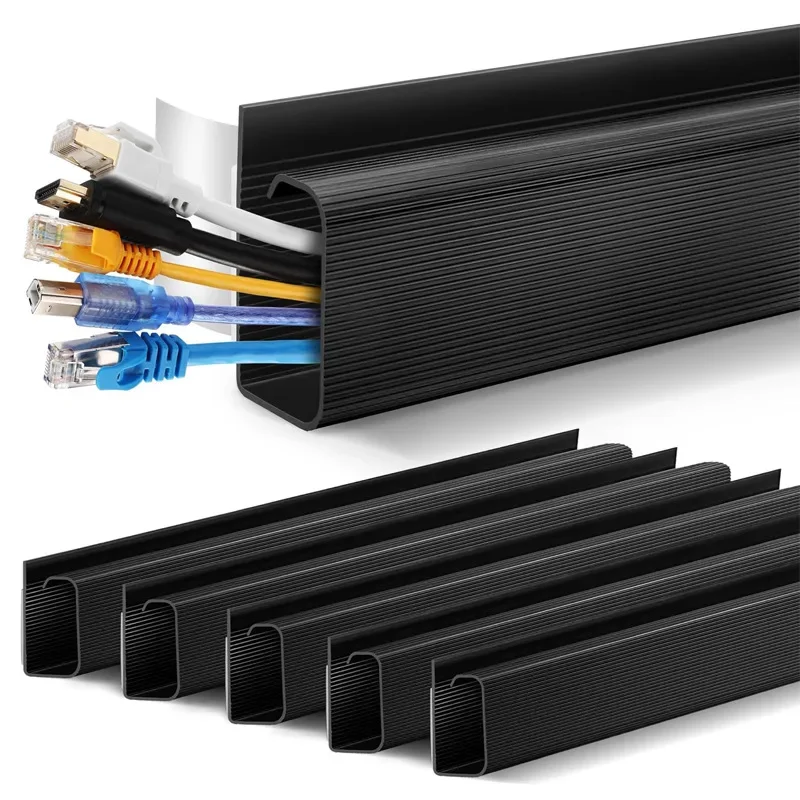
    PVC cable raceway duct under a desk

    1. Letting cables hang in open air

    A cable that runs straight from the desktop to an outlet with nothing supporting it in between will always look messy, no matter how few cables you have. Route cables along a fixed path — a desk leg, the back edge of the desktop, or a cable tray — instead of letting them hang freely.

    2. Buying cables that are too long

    Excess cable length has to go somewhere, and it’s usually a loose coil sitting in view. Where possible, buy cables sized closer to the actual distance you need rather than defaulting to the longest option “just in case.”

    3. Ignoring the power strip

    A power strip sitting on the floor or dangling off the back of the desk becomes the visual center of a messy setup, since every other cable eventually connects to it. Mounting it under the desk or inside a cable tray removes it from view entirely.

    4. Mixing cable types into one bundle

    Zip-tying power cables, data cables, and audio cables all into a single bundle makes it harder to trace any individual line later and can occasionally introduce interference between power and signal cables. Keep bundles grouped by function instead.

    Cable raceway duct colors

    5. Using zip ties for everything

    Zip ties are cheap but permanent — once tightened, changing anything means cutting them off and starting over. Velcro cable ties cost a little more but let you adjust or add a cable without redoing the whole bundle.

    6. Forgetting about the charging brick

    Laptop and monitor power bricks are bulky and don’t sit flat, so they tend to end up wherever they land — usually on the floor or hanging by their own cord. A small tray or a clip mounted under the desk gives them a fixed spot instead.

    7. Never labeling anything

    Without labels, every cable troubleshooting session turns into pulling on wires to see what moves. A few cable labels at each end save real time and prevent unnecessary bundle unwrapping down the line.

    Example picks: the same under-desk cable tray and cable raceway from our cable management guide fix most of the mistakes above in one purchase. (affiliate link)

    Cables routed neatly under a desk

    Bottom line

    None of these fixes require replacing your desk or buying a lot of gear — most of them are five-minute changes. Fixing even two or three of these habits usually makes the biggest visible difference in how organized a desk looks.

  • The Complete Guide to Cable Management Under Your Desk

    The Complete Guide to Cable Management Under Your Desk

    This post contains affiliate links. If you buy through these links, we may earn a commission at no extra cost to you.

    Cable management is one of those desk upgrades that doesn’t show up in photos but changes how a workspace actually feels to use. A tangled mess under the desk makes cleaning harder, hides dust, and makes it harder to trace a problem when something stops working. Here’s a practical approach that doesn’t require rebuilding your whole setup.

    Under-desk cable management tray

    Start by grouping, not hiding

    The instinct is to shove everything out of sight, but the more useful first step is grouping cables by function — power cables together, data cables (USB, HDMI, Ethernet) together, and anything you unplug often kept separate and accessible. Once cables are grouped, hiding them becomes much easier because you’re working with two or three bundles instead of a dozen loose wires.

    Use a cable tray to get wires off the floor

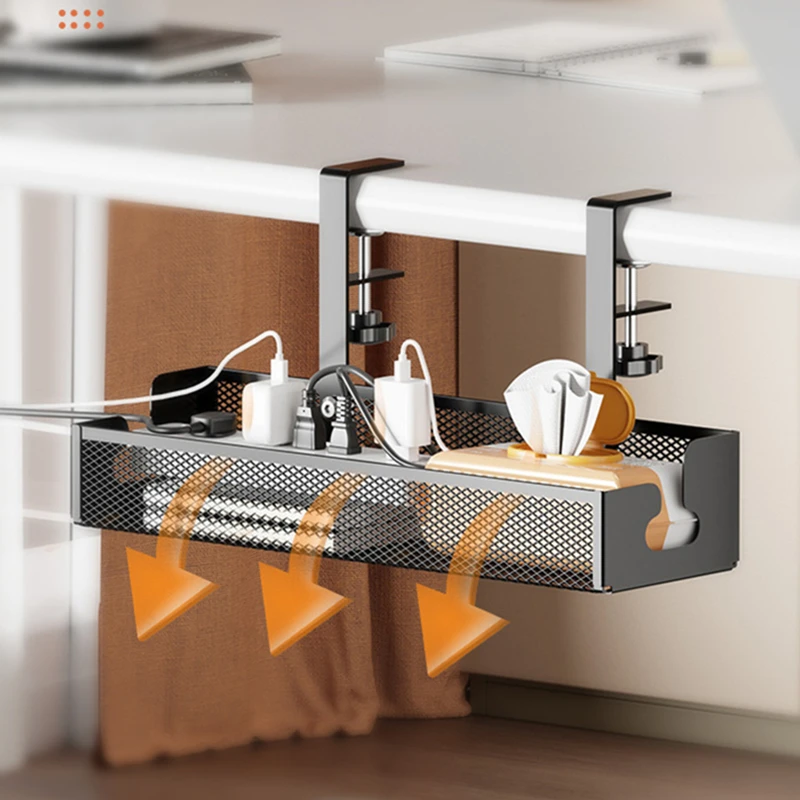
    An under-desk cable tray, usually a mesh or solid basket that clips or screws to the underside of the desktop, gives you a single place to route power strips and excess cable length. This does two things: it keeps cords off the floor where they collect dust and get kicked, and it moves the “mess” out of your eyeline entirely since you’re not looking under the desk during the day.

    Route, don’t just bundle

    Adhesive cable clips along the back edge or leg of the desk let you route cables in a fixed path rather than letting them hang loose. This matters most for cables that run from your desktop down to a power strip — a clean vertical run along a desk leg looks far better than cables dangling in open air, and it also reduces strain on the ports they’re plugged into.

    Under-desk cable tray holding items

    Deal with the power strip separately

    Power strips are usually the ugliest part of any desk setup because every cable eventually funnels into one. Mounting the power strip itself to the underside of the desk or inside a cable tray keeps it off the floor and out of sight, and makes it much easier to switch devices on and off without reaching around blindly.

    Label anything you might unplug

    Once cables are bundled and routed, it’s easy to forget which is which. Simple cable labels or even masking tape with a marker at each end save real time later when you need to unplug one specific cable without pulling the whole bundle apart to find it.

    Don’t over-bundle

    It’s tempting to zip-tie everything into one tight bundle, but overly tight bundling can strain individual cables and makes future changes harder — adding or removing one device means undoing the whole bundle. Velcro cable ties are worth the small extra cost over zip ties for exactly this reason: they’re reusable and adjustable.

    Example picks: a no-drill under-desk cable tray to get the power strip and bulk of the wiring off the floor, plus a PVC cable raceway for routing the last few cables along a fixed, hidden path. (affiliate link)

    PVC cable raceway duct

    Bottom line

    Good cable management isn’t about hiding every wire perfectly — it’s about creating a repeatable system: group by function, route along a fixed path, get everything off the floor, and keep it loose enough to modify later. Once that system is in place, adding a new device to your desk takes minutes instead of becoming a full afternoon project.