Tag: home-office

  • 7 Cable Management Mistakes That Make Your Desk Look Messy

    7 Cable Management Mistakes That Make Your Desk Look Messy

    This post contains affiliate links. If you buy through these links, we may earn a commission at no extra cost to you.

    Most cluttered desks aren’t cluttered because of too many cables — they’re cluttered because of a handful of avoidable habits. Here are the most common ones and what to do instead.
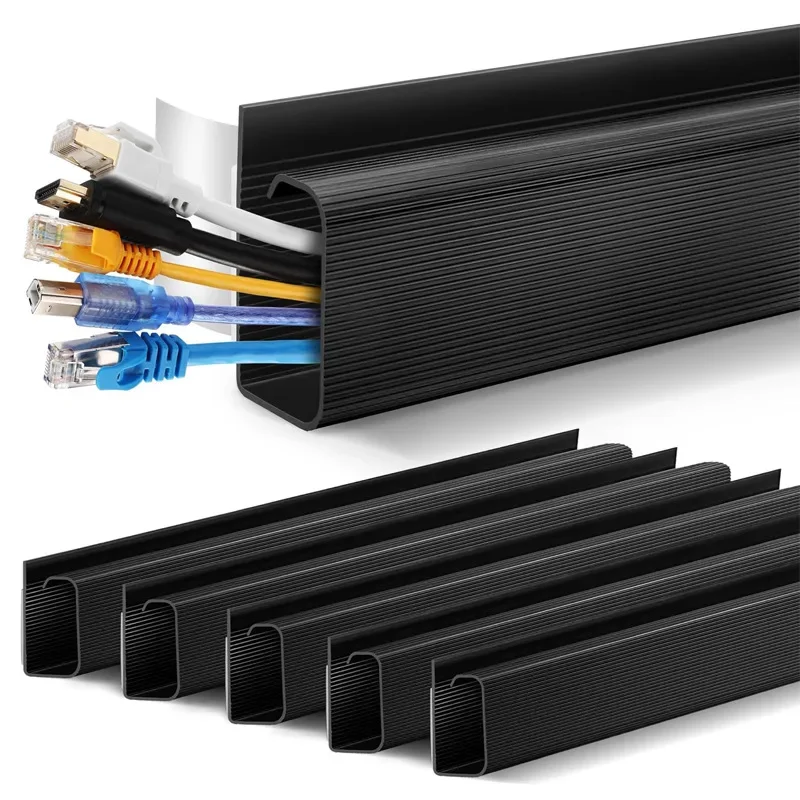
    PVC cable raceway duct under a desk

    1. Letting cables hang in open air

    A cable that runs straight from the desktop to an outlet with nothing supporting it in between will always look messy, no matter how few cables you have. Route cables along a fixed path — a desk leg, the back edge of the desktop, or a cable tray — instead of letting them hang freely.

    2. Buying cables that are too long

    Excess cable length has to go somewhere, and it’s usually a loose coil sitting in view. Where possible, buy cables sized closer to the actual distance you need rather than defaulting to the longest option “just in case.”

    3. Ignoring the power strip

    A power strip sitting on the floor or dangling off the back of the desk becomes the visual center of a messy setup, since every other cable eventually connects to it. Mounting it under the desk or inside a cable tray removes it from view entirely.

    4. Mixing cable types into one bundle

    Zip-tying power cables, data cables, and audio cables all into a single bundle makes it harder to trace any individual line later and can occasionally introduce interference between power and signal cables. Keep bundles grouped by function instead.
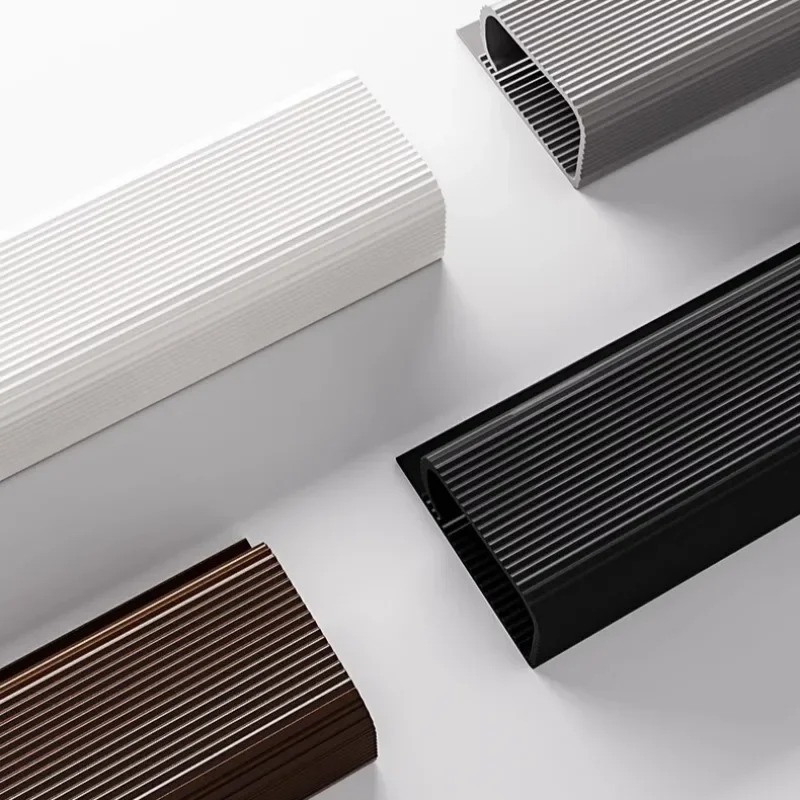
    Cable raceway duct colors

    5. Using zip ties for everything

    Zip ties are cheap but permanent — once tightened, changing anything means cutting them off and starting over. Velcro cable ties cost a little more but let you adjust or add a cable without redoing the whole bundle.

    6. Forgetting about the charging brick

    Laptop and monitor power bricks are bulky and don’t sit flat, so they tend to end up wherever they land — usually on the floor or hanging by their own cord. A small tray or a clip mounted under the desk gives them a fixed spot instead.

    7. Never labeling anything

    Without labels, every cable troubleshooting session turns into pulling on wires to see what moves. A few cable labels at each end save real time and prevent unnecessary bundle unwrapping down the line.

    Example picks: the same under-desk cable tray and cable raceway from our cable management guide fix most of the mistakes above in one purchase. (affiliate link)
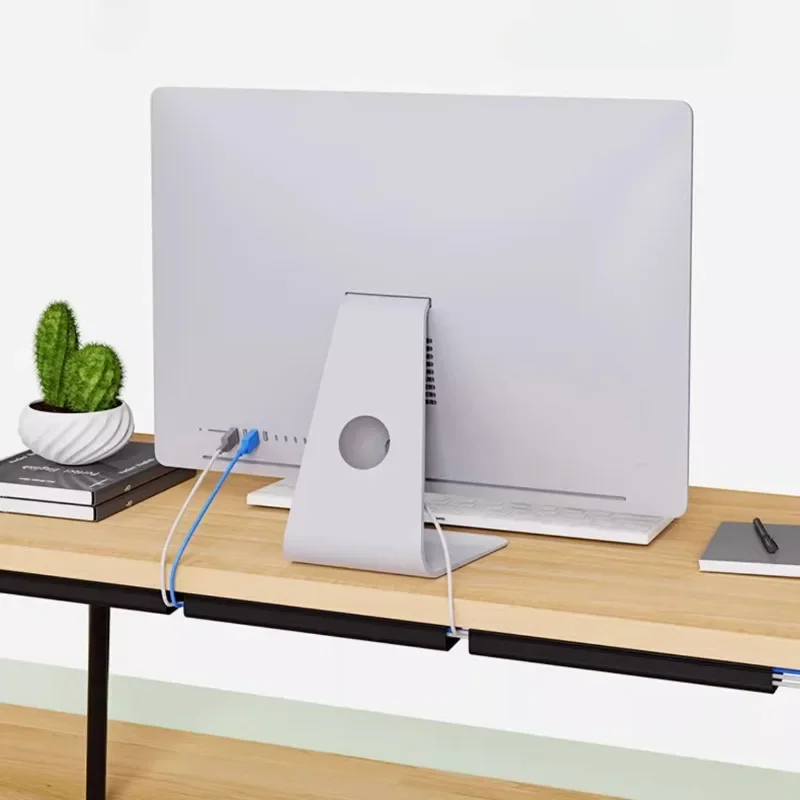
    Cables routed neatly under a desk

    Bottom line

    None of these fixes require replacing your desk or buying a lot of gear — most of them are five-minute changes. Fixing even two or three of these habits usually makes the biggest visible difference in how organized a desk looks.

  • How to Choose the Right Monitor Arm for Your Desk (Buying Guide)

    How to Choose the Right Monitor Arm for Your Desk (Buying Guide)

    This post contains affiliate links. If you buy through these links, we may earn a commission at no extra cost to you.

    A monitor arm looks like a simple accessory until you actually try to buy one. Between VESA standards, weight ratings, clamp types, and arm mechanisms, it’s easy to end up with something that either can’t hold your screen or won’t fit your desk at all. Here’s what actually matters before you buy.

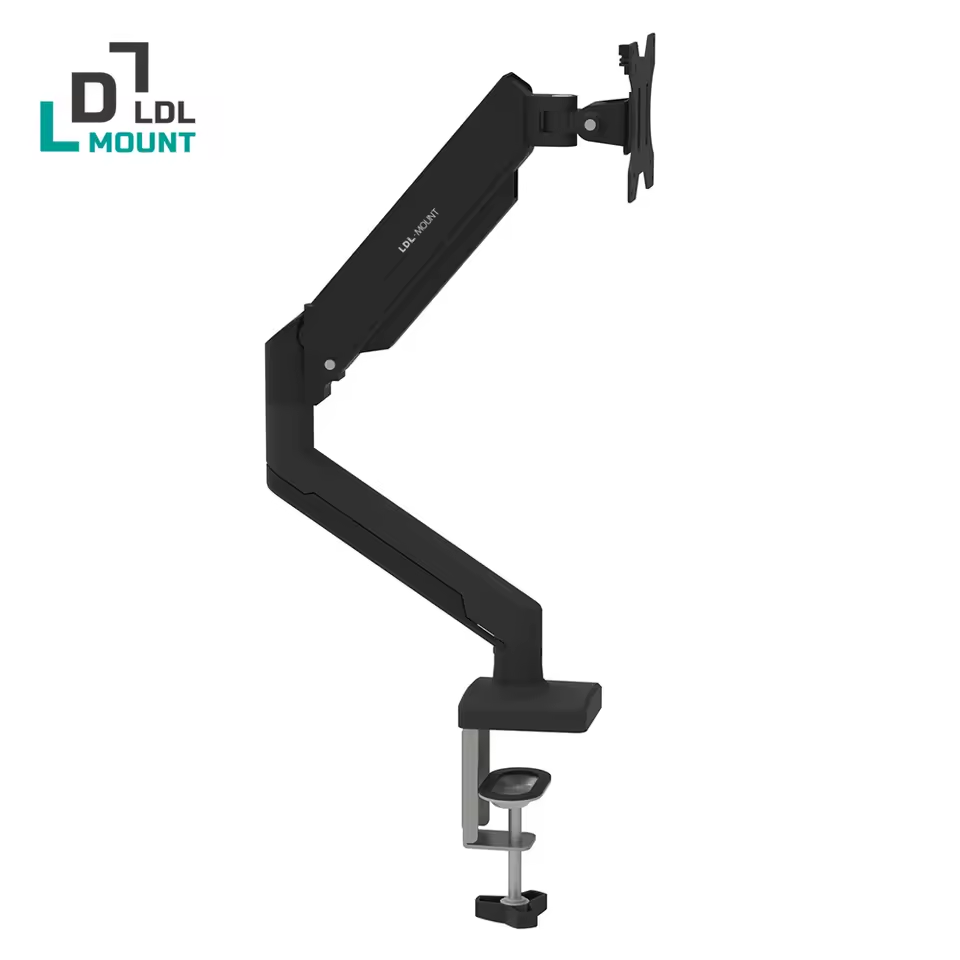
    Single monitor arm mounted on a desk edge

    Measure your desk edge first

    Most monitor arms mount with a clamp that grips the back edge of your desk, and clamps have a maximum thickness they can grip — usually somewhere between 1.5 and 3.5 inches. Glass desks, very thick executive desks, and desks with a lip or trim can all cause fit problems. If your desk has an open back edge with no bracing underneath, a clamp mount will work fine. If it doesn’t, you’ll need a grommet mount instead, which goes through a drilled hole in the desktop.

    Check VESA compatibility

    Almost every monitor sold in the last decade has a VESA mounting pattern on the back — usually 75x75mm or 100x100mm for standard monitors, with wider patterns for ultrawide and larger screens. Check your monitor’s spec sheet for its VESA size before buying an arm, since not every arm supports both patterns out of the box.

    Match the weight rating to your actual monitor

    Every arm lists a weight range it can support, and gas-spring arms in particular need the monitor weight to fall within that range to move smoothly. Too light and the arm may drift upward on its own; too heavy and it will sag or refuse to hold position. If you plan to upgrade to a bigger monitor later, it’s worth buying an arm rated for more weight than you currently need.

    Monitor arm VESA mount close-up

    Gas spring vs friction arm

    Gas spring arms let you adjust height and angle with one hand and very little resistance, which is nice if you switch between sitting and standing often. Friction arms rely on tightened joints instead of a gas cylinder — they’re usually cheaper and hold position well once set, but adjusting them takes a bit more effort each time. If you rarely reposition your monitor once it’s set up, a friction arm is often the better value.

    Think about range of motion, not just height

    A good arm should let you pull the monitor closer or push it back, tilt it up or down, swivel it side to side, and rotate it into portrait mode if you want. Cheaper arms sometimes skip depth adjustment (extending forward and back), which matters more than people expect once the monitor is actually mounted — you’ll often want it slightly closer than you’d guess.

    Single vs dual clamp base

    If you’re running two monitors, decide early whether you want one dual arm on a shared base or two separate single arms. A shared base saves desk space but means both monitors move somewhat together; two independent arms give each screen full freedom of movement at the cost of an extra clamp point on your desk.

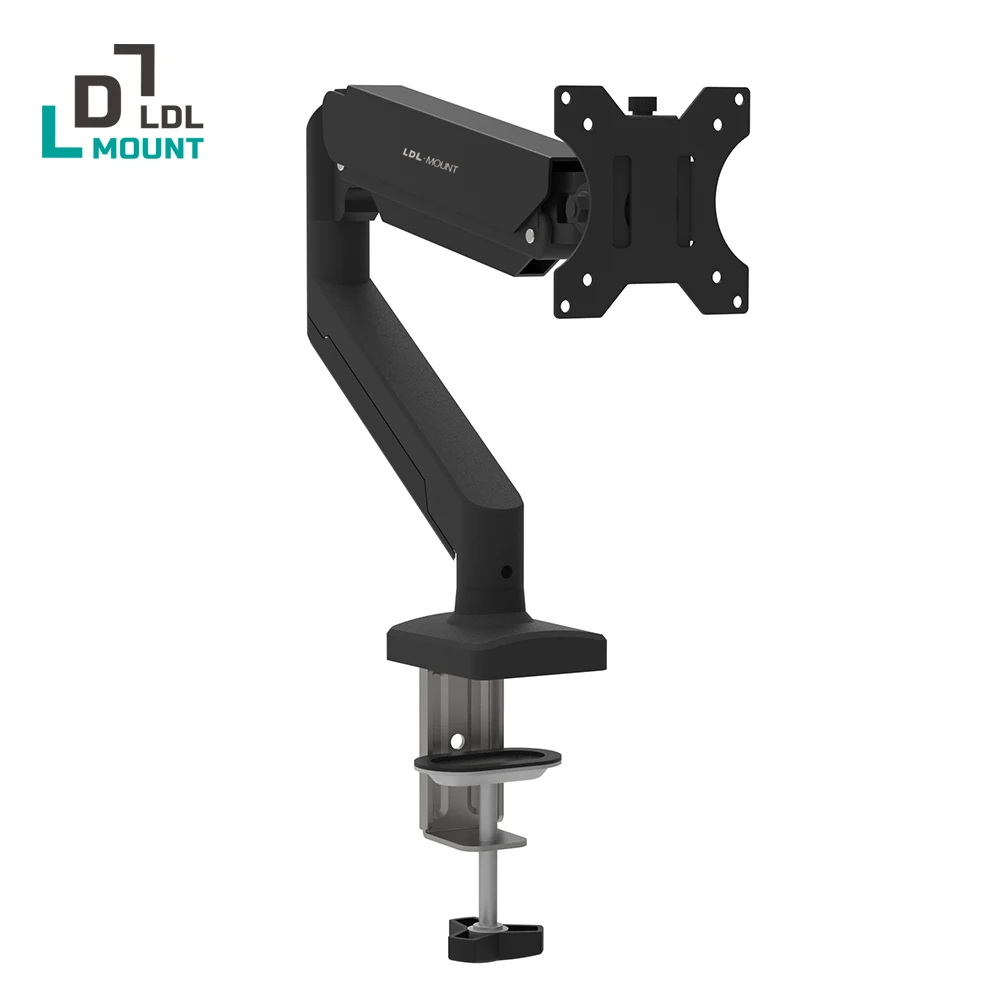
    Example pick: if you want a specific gas-spring arm to start with, the LDL-MOUNT Flex Fit single monitor arm covers the 17″-32″ range most people need. (affiliate link)

    Dual monitor arm for comparison

    Bottom line

    Before you add anything to your cart, confirm three things: your desk’s edge thickness and clearance underneath, your monitor’s VESA pattern, and your monitor’s weight versus the arm’s rated range. Get those three right and almost any reasonably built arm will serve you well for years.